A water loss, a fire, or a burst pipe leaves you wanting to clean up fast. The instinct is healthy, but the half hour before you touch anything is the most valuable window you have. Your insurer was not in the room when the damage happened, so your documentation becomes the record of what was lost and how bad it was. Thorough photos, video, and notes taken before cleanup protect the value of your claim far more than anything you can do afterward.
At Green Restoration, we serve homeowners across Connecticut, the New York metro and Westchester, and Western Massachusetts, and we document the loss for you and submit that record to your insurer. To be clear about our role, we are not licensed public adjusters and do not negotiate claims. What we can do is help you build a clean, organized file. This field checklist walks through a ten to twelve step routine you can follow yourself, in the order that matters, so nothing important gets thrown out or forgotten before help arrives.
Before You Touch Anything
The first minutes set the tone for the whole claim. Stay safe, stabilize the obvious, and resist the urge to start hauling things to the curb.
Safety And Mitigation Come First
Your safety outranks any photo. If there is standing water near electrical outlets, a gas smell, or structural sag, leave and call for help before documenting anything. Once the area is safe, most policies expect you to take reasonable steps to prevent further damage, such as shutting off the water supply, placing a tarp over a roof opening, or moving dry belongings out of a wet room.
These mitigation steps do not conflict with documentation. Photograph the damage first if you safely can, then mitigate. If you must mitigate immediately, take a few quick shots on your phone as you go so the original condition is still on record.
Do Not Discard Anything Yet
This is the single rule most homeowners wish they had followed. Damaged drywall, soaked carpet, ruined furniture, and warped flooring are all evidence. An adjuster generally wants to see the damaged materials, or at minimum clear photos of them, before anything is removed.
Keep ruined items in a garage, a corner of the yard, or a spare room until the claim is acknowledged. If something must be removed for health or safety reasons, photograph it thoroughly from several angles first and note why it had to go.
Build The Photo And Video Record
Visual proof is the backbone of any claim. Shoot in layers so an adjuster can understand both the full scene and the fine detail.
Wide Shots, Then Close Shots
Start every room with wide establishing photos from each corner so the adjuster can see the full context and orient themselves. Then move in for medium shots of each damaged area, and finish with close detail shots of cracks, staining, swelling, and material failure.
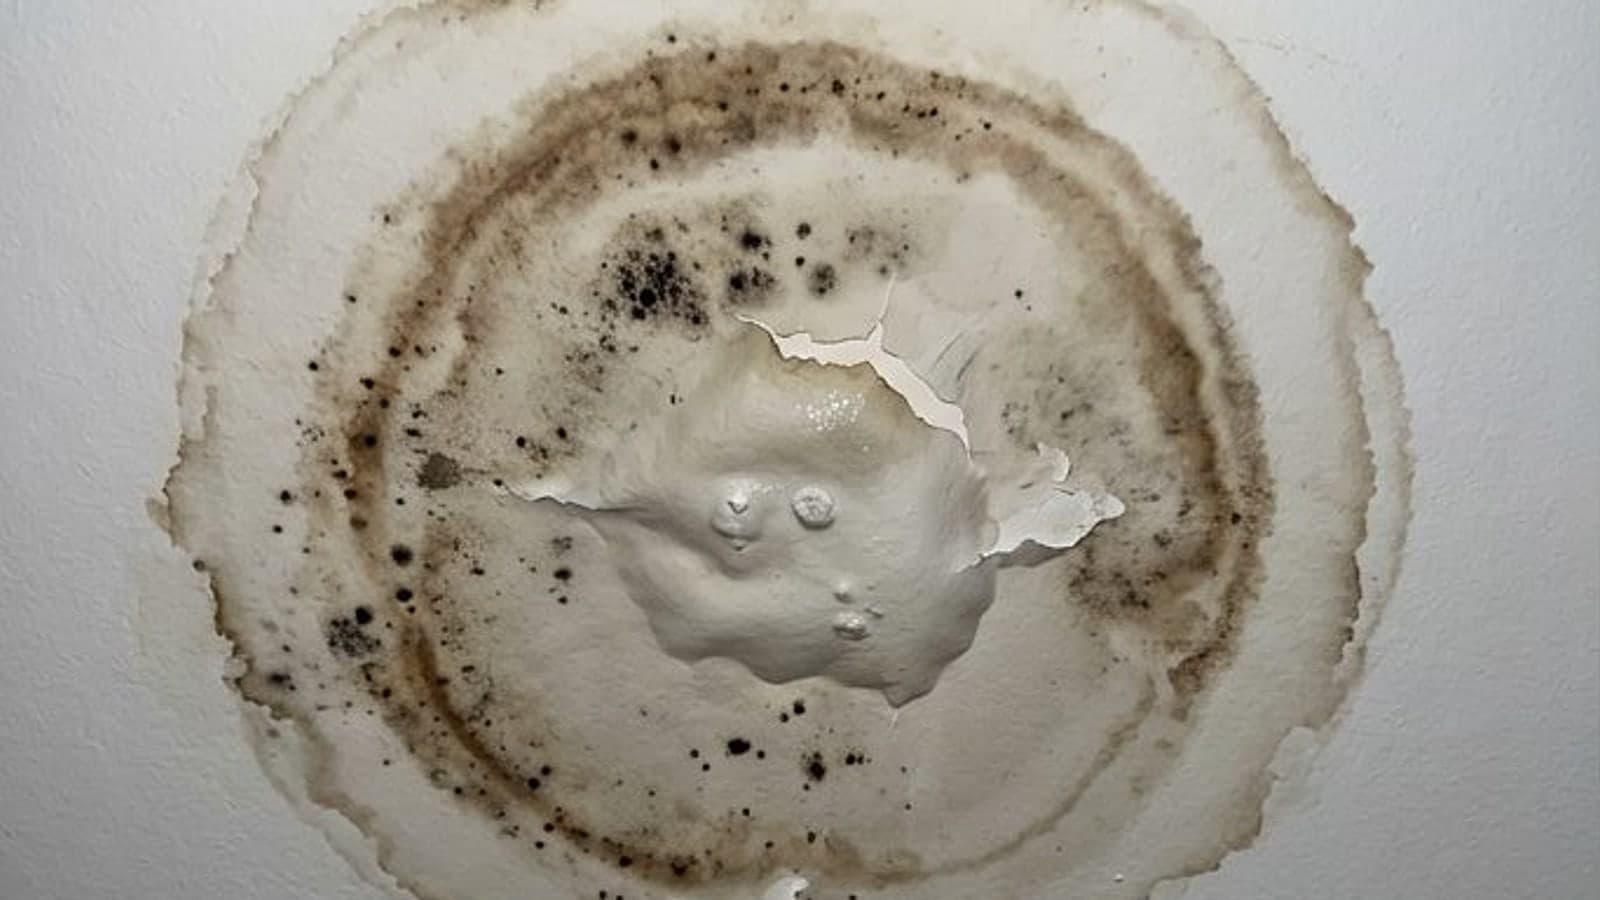
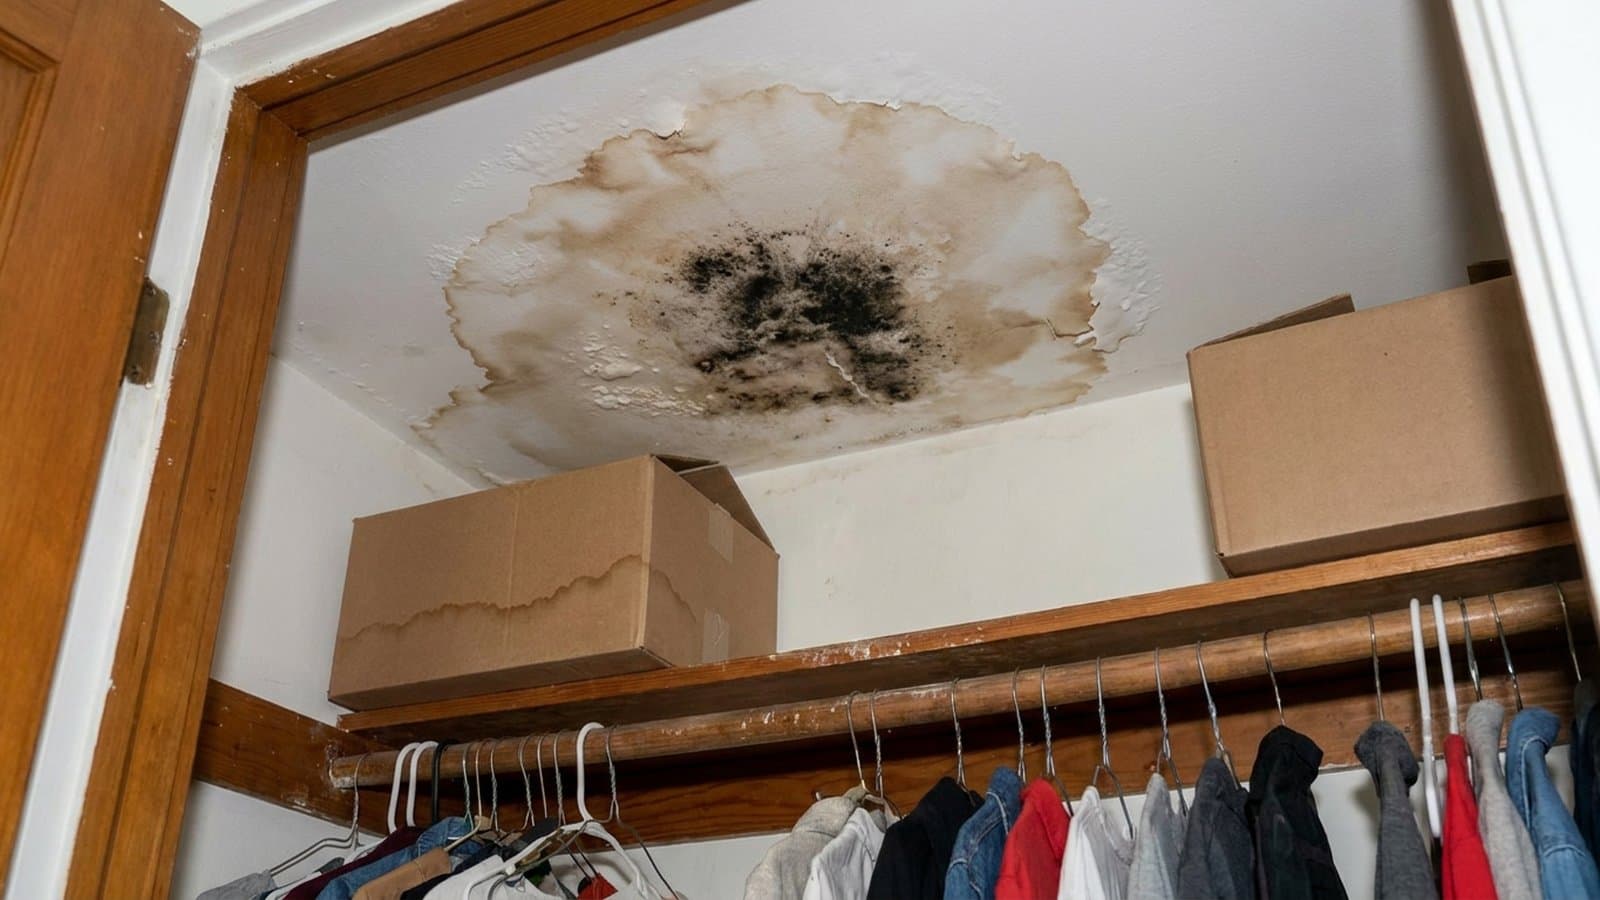
A reliable habit is wide, medium, close for every affected room. The wide frame proves location, the close frame proves severity. Capture ceilings and the base of walls, since water and smoke damage often shows worst where people forget to look.
A Narrated Video Walkthrough
A slow video walkthrough ties the still photos together. Walk room to room at a steady pace and narrate what you see in plain language, naming the room and pointing out each area of damage as you pan across it.
Keep the camera level and let it linger a few seconds on each damaged area so individual frames stay sharp. The narration creates a time stamped, first person account that is hard to reconstruct later.
Capture Timestamps And Context
Make sure your phone or camera has the correct date and time set, since the file metadata becomes part of the record. A quick photo of a newspaper, a phone showing the date, or a thermostat with the date display reinforces when the documentation was made.
Also photograph the source of the loss if it is visible, such as the failed water heater, the burst supply line, or the point of roof entry. Connecting the damage to its cause makes your file easier to follow.
"The photos you take before cleanup are worth more than anything you can do after. You only get one chance to record the original condition."
Capture The Details Adjusters Ask For
Beyond the obvious damage, a handful of specific records turn a vague claim into a documented one. These are the items insurers consistently request.
Serial Numbers, Models, And Brands
For appliances, electronics, and major systems, photograph the serial number plate, the model number, and the brand. These are usually on a sticker at the back, base, or inside the door of an item. This information lets the value of an item be established by its actual make rather than a rough guess.
Do the same for the equipment that caused the loss when you can reach it safely. The model and serial of a failed water heater or HVAC unit can matter for both your claim and any warranty question.
Receipts, Records, And Proof Of Ownership
Gather any receipts, owner manuals, warranty cards, credit card statements, or original product photos you can find for damaged items. Proof of ownership and original cost supports the value of what was lost.
If you have no receipt, do not panic. A clear photo of the item in your home from before the loss, an email order confirmation, or even a product box can help establish that you owned it and roughly what it was worth. Save these into the same folder as your damage photos.
Moisture Readings And Environmental Notes
Water damage is often worse inside walls and under floors than it looks on the surface. When our team documents a loss, we record moisture readings and humidity levels so the extent of saturation is captured rather than estimated. These readings, along with photos of any visible water lines on the walls, show how far the water traveled.
If mold may be a concern, note any musty odor or visible growth and avoid disturbing it. The EPA notes that mold exposure is associated with respiratory symptoms in sensitive individuals, so the safer path is to document what you see and let trained staff handle any suspected growth.
Organize, Log, And Submit
Good documentation is only useful if it stays organized and reaches your insurer in a form they can work with.
Keep A Running Inventory And Notes
Create a simple list of every damaged item with a short description, the room it was in, its approximate age, and what you estimate it cost. A spreadsheet or even a notes app works. Number each item and tie the number to the matching photos so nothing gets confused later.
Also keep a running log of events. Note the date and time you discovered the loss, when you shut off the water, who you called, and any mitigation steps you took. A clear timeline answers many of the questions an adjuster asks.
Report The Claim Promptly And Keep Copies
Contact your insurer as soon as it is safe to do so, since most policies expect prompt notice. Write down your claim number, the name of anyone you speak with, and what was said. Send your documentation in the format the insurer requests and keep a complete copy of everything for yourself.
Never send your only copy of anything. Back up your photos, video, and inventory to a second location such as cloud storage or email, so a lost phone or a wet device does not erase your record.
How Green Restoration Fits In
Once the immediate scene is documented, our team can build on what you started. We perform moisture mapping, photograph hidden damage as we open up affected areas, and assemble an organized loss record that we submit to your insurer on your behalf. We work across Connecticut, the New York metro and Westchester, and Western Massachusetts.
We stay in our lane on purpose. We are not licensed public adjusters and do not negotiate claims. Our job is to document the loss accurately, mitigate further damage, and restore your property, while you and your insurer handle the coverage decisions with a clear, complete file in front of you.