Rodent Contamination Cleanup Inside a Warren Ceiling, 560 Square Feet Contained
 1 / 8
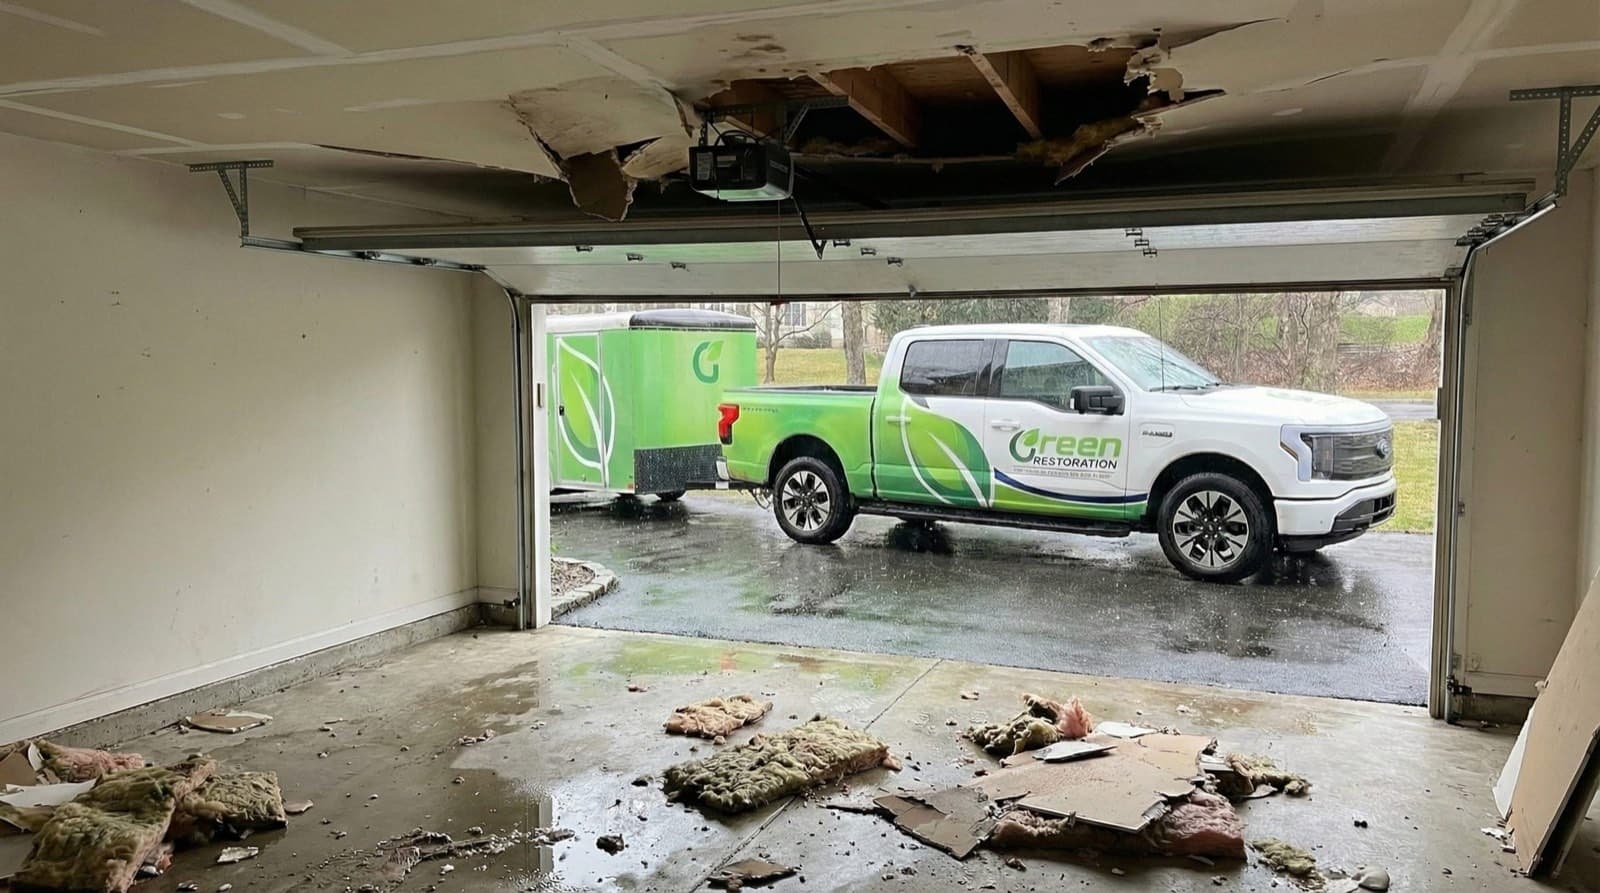
1 / 8What was above the ceiling. Droppings across the decking and nesting material worked into the insulation, inside the assembly of a finished room.
See How the Work Was Done
Real photos from this Warren project: the droppings and nesting above the ceiling, the contaminated insulation coming down, the containment, and the cavity foamed and closed back up.
What Happened
The problem in this Warren home was where it was, not how much of it there was. Rodents had been living on the plywood above a finished ceiling, and the evidence was exactly what that leaves: droppings scattered across the decking, nesting material worked into the insulation, and staining soaked through the board below. That location is what made it a different job from the usual rodent call. A crawl space or an open attic can be worked from outside the living space. A ceiling assembly cannot.
To reach any of it, the finished ceiling of the library and the hallway had to come down, which means the work happens above the heads of the people who live there, in rooms with a hardwood floor and furniture in them. So the sequence was built around containment rather than around the contamination. Plywood floor protection went down first and six mil poly over it, because the hardwood was staying and the demolition was not.
The crew documented the existing scratches in that floor before starting, which is the unglamorous discipline that keeps a pre-existing mark from turning into an argument later. 560 square feet of containment barrier went up with a decontamination chamber and two zipper airlock doors, so there was one controlled way in and out for the crew and one for the debris. Five negative air scrubber periods ran across the job, holding the work zone under negative pressure so air left through a HEPA filter instead of drifting into the rest of the house. Contents were moved out of the work area and reset afterward.
Then the ceilings came down, first the section in the library and then the remainder in the hallway. The contaminated insulation came out with them, and the crew cleaned and disinfected the exposed cavity before anything went back. Soiled material left the property as debris disposal rather than being bagged and stored. What separates this project from a straight cleanup is that it did not stop at clean. The ceiling had been opened, so the assembly was rebuilt: new spray foam insulation into the cavity, then new sheetrock on the walls and ceiling to close it. The homeowner got back a finished room, not an open one.
It is worth being precise about what was not part of this. No chlorine dioxide gas, no ozone and no hydroxyl treatment were sold on this job, and no antimicrobial coating was billed as a line item. No mold testing, no air sampling and no clearance testing were performed. Nothing was done to seal the exterior entry points the rodents had been using, so the question of how they were getting in is a separate scope and remains open.
Scope of Damage
Ceiling Cavity Decking
SevereDroppings and nesting material across the plywood above the finished ceiling, with staining soaked through to the board below. The cavity was cleaned and disinfected once the ceiling was opened.
Ceiling Insulation
SevereInsulation in the affected bays was contaminated and stained through, not salvageable, and came down with the ceiling rather than being cleaned in place.
Library And Hallway Ceilings
ModerateFinished ceilings in both areas were opened to reach the contamination, then rebuilt with new spray foam insulation and new sheetrock.
Hardwood Flooring
LightThe hardwood was staying, so it was covered with plywood protection and six mil poly for the duration. Existing scratches were photographed and documented before work began.
How We Solved It
- 1
Document The Floor First
Existing scratches and marks in the hardwood were photographed before anything was moved, so pre-existing condition was on record rather than in dispute at the end.
- 2
Floor Protection
Plywood floor protection was installed and six mil poly laid over it across the working areas, because a finished hardwood floor was staying in a room where a ceiling was coming down.
- 3
Containment And Airlocks
560 square feet of containment barrier with a decontamination chamber, plus two zipper doors, giving one controlled route for the crew and one for the debris.
- 4
Negative Air
Five negative air scrubber periods held the work zone under negative pressure, so air moved into the containment and out through a HEPA filter rather than into the rest of the house.
- 5
Contents Manipulation
Furnishings were moved clear of the work area so the ceiling could be opened safely, then reset once the assembly was closed.
- 6
Ceiling Removal
The affected ceiling was taken down in stages, the section in the library first and the remainder in the hallway after, with the contaminated insulation coming down with it.
- 7
Clean And Disinfect The Cavity
With the assembly open, the exposed cavity was cleaned and disinfected before anything new went back into it, as recorded in the crew job notes.
- 8
Reinsulate And Close
New spray foam insulation was installed into the cavity and new sheetrock hung on the walls and ceiling, so the room was handed back finished rather than open.
- 9
Disposal
All contaminated insulation, ceiling material and debris left the property as a documented disposal, not stored on site.
Tools & Equipment Used
Questions Homeowners Ask
Why did the ceiling have to come down at all?
Because the contamination was on top of it. Droppings and nesting were sitting on the plywood decking above a finished ceiling, inside the assembly, with no access from an attic or crawl space. There is no way to clean a surface you cannot reach. Opening the ceiling in the library and the hallway was the only route to the affected decking and insulation.
Could the insulation have been cleaned instead of removed?
No. Insulation that has had rodents living in it is contaminated through its depth, not on its surface, and it holds droppings, urine and nesting material in the fibre where no cleaning method reaches. It came down with the ceiling. Cleaning contaminated insulation in place is not a real option, and any proposal offering it should be questioned.
Why does a rodent cleanup need 560 square feet of containment?
Because demolition of a contaminated assembly puts material into the air in rooms people live in. The containment with a decontamination chamber and two zipper airlocks gave one controlled route in and out for the crew and one for the debris, and five negative air periods kept the work zone under negative pressure so filtered air left through HEPA rather than drifting through the house. On this job the containment and air control were a larger share of the work than the demolition.
Was the ceiling put back, or left open?
Put back. New spray foam insulation went into the cavity and new sheetrock was hung on the walls and ceiling, so the rooms were handed back finished. That is not true of every cleanup. Plenty of rodent scopes stop at removal and leave the rebuild to a separate contractor, so it is worth confirming which one you are being quoted.
Does this stop the rodents from coming back?
No, and it would be misleading to imply otherwise. This scope removed the contamination, cleaned the cavity and rebuilt the assembly. It did not include exclusion work: sealing the exterior entry points, soffit and roofline gaps the animals were using to get in. Until those are closed, the route is still there. Exclusion is a separate scope and a separate decision.
Why photograph scratches in the floor before starting?
Because a hardwood floor that stays in a room where a ceiling is being demolished will be blamed for every mark on it afterward. Documenting the existing condition protects both sides. On this job the crew recorded the pre-existing scratches before any protection went down, and the floor was then covered with plywood and six mil poly for the duration.
Was anything tested for mold on this job?
No. No mold testing, air sampling or clearance testing was part of this scope, and none is claimed. Staining was present on the material that came out, and it was removed and disposed of as contaminated debris rather than sampled. Testing is a separate service and we deliberately do not sell it on the same quote as the remediation.
What does a rodent contamination cleanup like this cost?
This project came to $6,816.69, and that figure includes the rebuild, not just the cleanup. The parts that move the number are how much finished surface has to be opened to reach the contamination, how much containment and air control the occupied space needs, and whether the assembly gets closed back up afterward. A removal-only scope in an accessible crawl space or attic sits well below this.
Warren is served by
Green Restoration of Litchfield County
Available 24 / 7 for emergency response
More Case Studies
View all →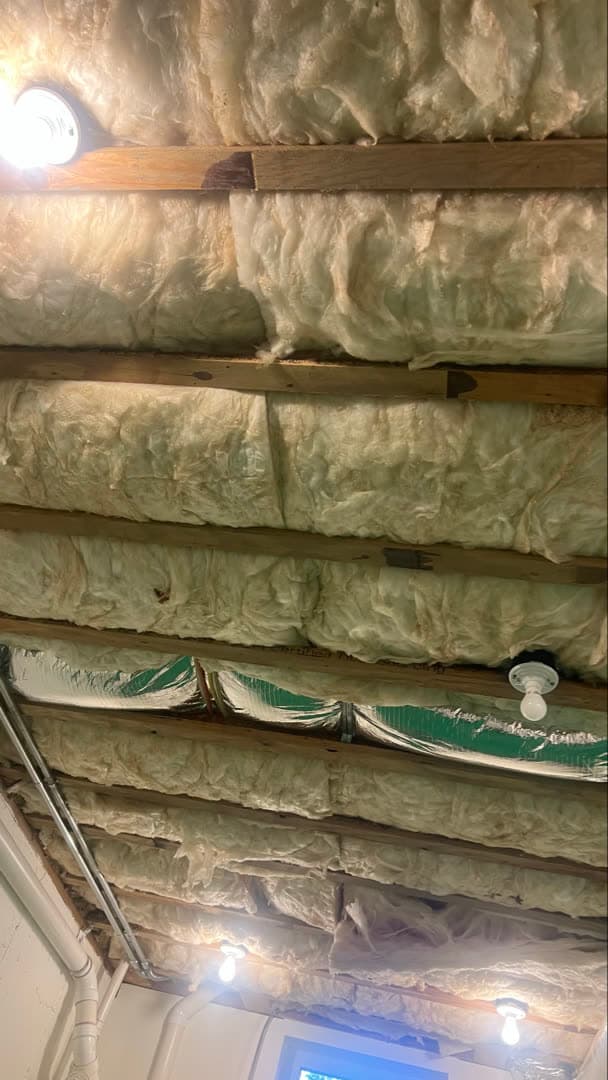 Environmental Cleaning
Rodent Odor Removal in a New Canaan Basement Laundry Room
 Environmental Cleaning
The Cloths Went In Yellow: Deep Sanitization of an Ossining Apartment
 Environmental Cleaning
